Showing posts with label orange. Show all posts

Tuesday, July 12, 2011

Tutorial: Pac-Man!

Today I decided to do a nail design that my husband would enjoy. He's the typical guy, he sees my nails and 'Oh that's nice...' so I figured that I would put something on there that he would pay attention to. I still don't have my Konad stamps so I went back to my nail brushes and googled some pictures and decided that I'd do a little Pac-Man scene and this time, I took pictures of each steps so I could put together a tutorial as well. So productive today!

What I used:

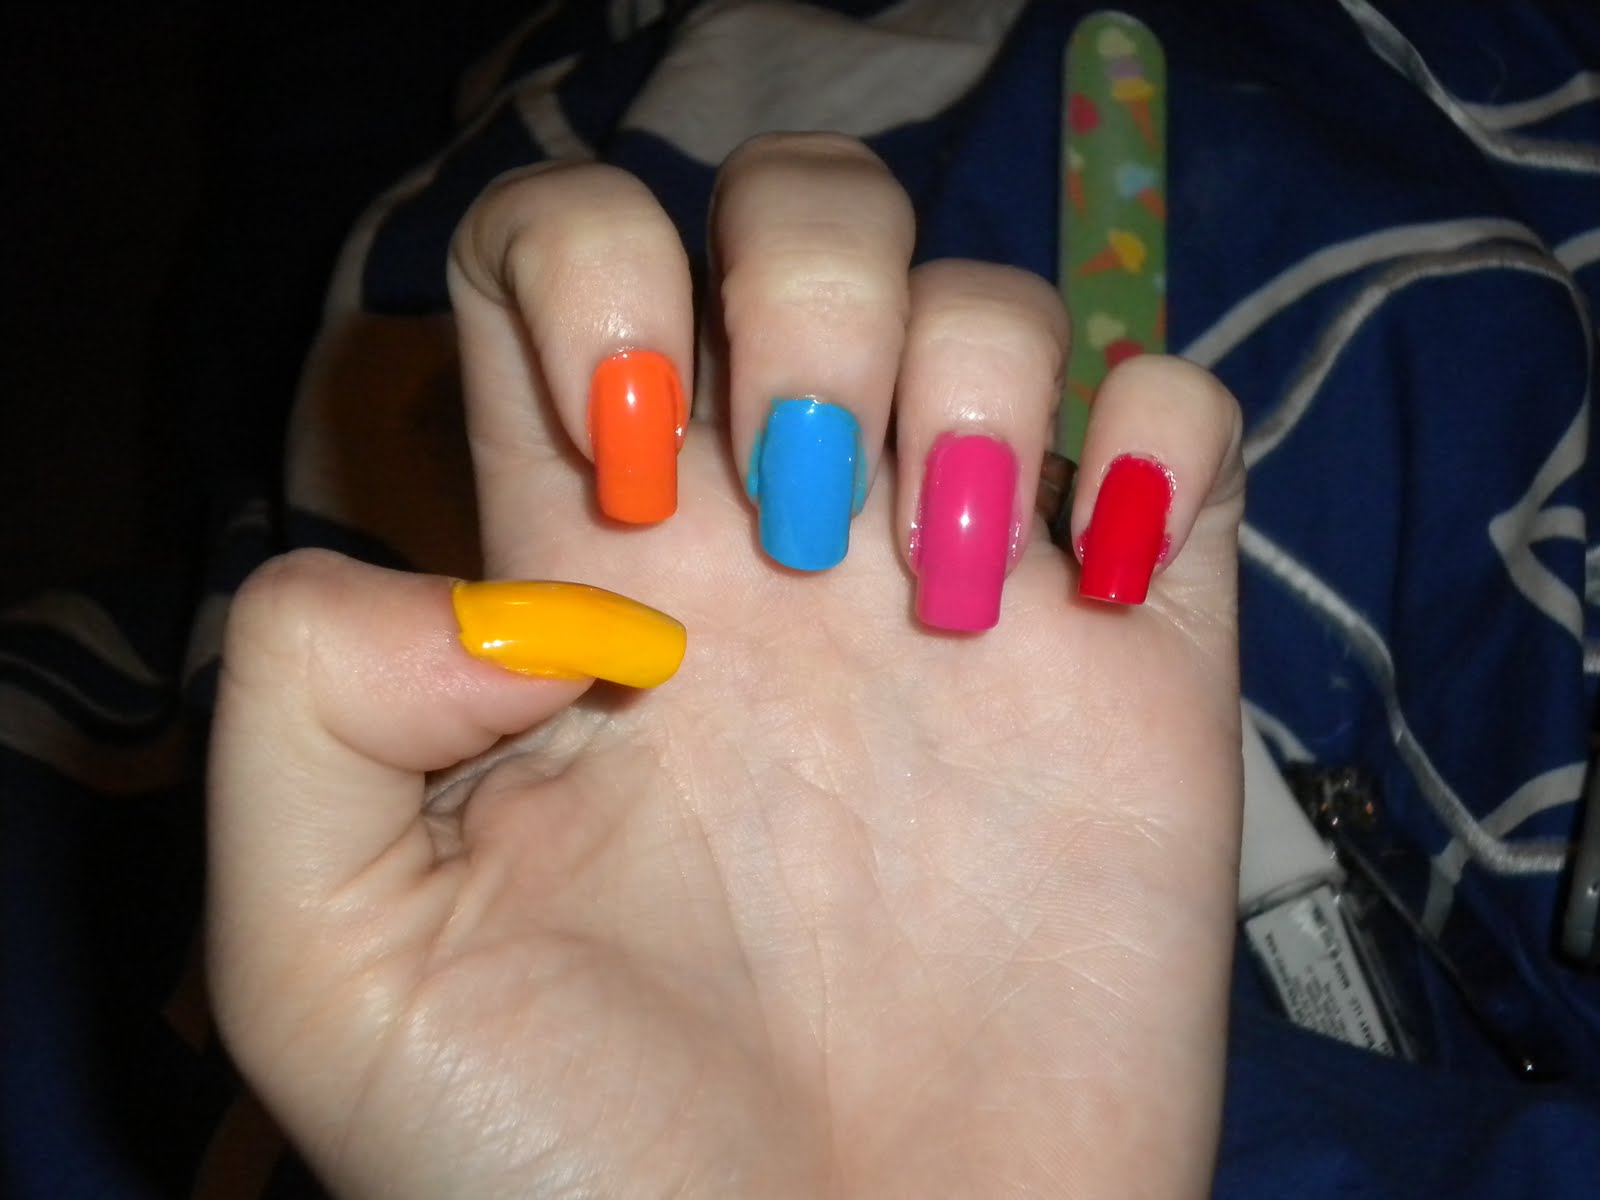
From pinky to thumb, I used
Sally Hansen Complete Salon Manicure Right Said Red (best true red ever!)
OPI That's Hot! Pink
Sally Hansen Xtreme Wear Blue Me Away
OPI In My Back Pocket
OPI The 'It' Color
Stripe Rite Black
Stripe Rite White (Not pictured, I thought I was going to use Whirlwind White but changed my mind)

Start by painting each nail a different color. Order doesn't really matter but the thumb has to be yellow.

Then I used the Stripe Rite to draw the bottoms of the ghosts, just three little trangles at the tip of each nail.


On my thumb, I drew a V down from the tip of my nail to just above the center, like a < sign, but enough that it will look rounded when you're done. I filled that in with a regular black polish since the Stripe Rite can clump if you try to use too much of it. After that, I essentially did an inverted french tip to finish the half-circle shape of Pac-Man and filled it in as I did before.
With the white Stripe Rite, I added the eyeballs for the ghosts

Add little black dots inside the eyes so the ghosts can see


Finally, you add an eye for Pac-Man. Finish with a top coat, but make sure everything is completely dry. There are a lot of little details that can very easily smear if you drag a top coat across it.

When I finished it, I called my husband to come see the Pac-Man nails and he loved them! He didn't want to admit that he thought nail polish was cool, but he couldn't resist something nerdy :) It's actually pretty easy to do once you break it up in steps, but the most important thing is to just let each step dry before starting the next to avoid smudges and smears. Enjoy!

Thursday, July 7, 2011

Neon Leopard


I LOVE leopard print. My laptop is leopard, my garter at my wedding was pink and black leopard, my couch pillows are leopard, you get the point! I'm actually working on getting a quarter sleeve leopard print tattoo soon. I can't wait! I never tried leopard print nails before and thought it would be way too hard but I surprised myself! I practiced with a few pictures online, but I don't have any brown polishes so I decided to go for the neon leopard to match my computer. This was also my first successful use of white polish on anything that isn't a french manicure. Usually I have TERRIBLE luck with white. Either it's too thin, not the bright white shade that I'm looking for or it's so thick that it never dries and always gets smudged or scraped. I found another gem in the Sally Hansen collection (I'm starting to sense a trend here. I might be hooked on Sally Hansen next...) with the InstaDry Whirlwind White. It's the exact white that I want and the brush is awesome. It's a wide flat brush, as opposed to the more rounded shape that most polishes come with. I can usually get my whole nail done in one stroke. It's also a perfect base for neons or thin polishes that need a little bit extra behind them to make them really pop.

Here's my first leopard manicure. I originally did every other nail to avoid it being too loud, but I didn't like how it looked and went back to fill the rest in later. I also should probably add that most of my pictures are taken pre-clean up to get them while they're still fresh. Don't worry, I clean all that extra off!
What I used:
Sally Hansen InstaDry Whirlwind White
Stripe Rite Neons (Pink, green, yellow, orange and purple) and Black

Inspiration for this nail design and the how to came from The Polished Medic. I've been following her blog for awhile and LOVE the way she does her nails. I also love to see long, natural nails being done in more colors than just red and french-tipped :)

After doing my own mani, I decided to give my kitty her weekly mani as well. She wears Soft Claws to cover her front claws since I don't declaw my kitties and this week, we were matching once I put on her pink and blue caps. We had also just finished listening to some Lady Gaga so I felt compelled to snap a picture of my own little monster. Allow me to introduce, Peppers!
Peppers, put your paws up!